*This post contains affiliate links. If you purchase through my links I may earn a small commission, at no extra cost to you.*
Ready to dive into beauty, lifestyle, self-care, vlogging, or UGC content? With so many platforms and devices out there, it can feel overwhelming to start creating.
After 15 years of vlogging, I can comfortably say it is easier than ever to start today. Instead of sharing a list of my old gear, I’m putting together the ultimate 2026 starter wishlist: the exact equipment I would buy and the practical tips I wish I knew when I first started. Consider this your cheat sheet to getting camera-ready, confident, and creating polished content in no time!
Cameras: The Heart of Your Setup
A great camera is your best friend, whether you’re filming tutorials, sharing self-care routines, or vlogging on the go. If I were starting fresh, these are the models topping my list:
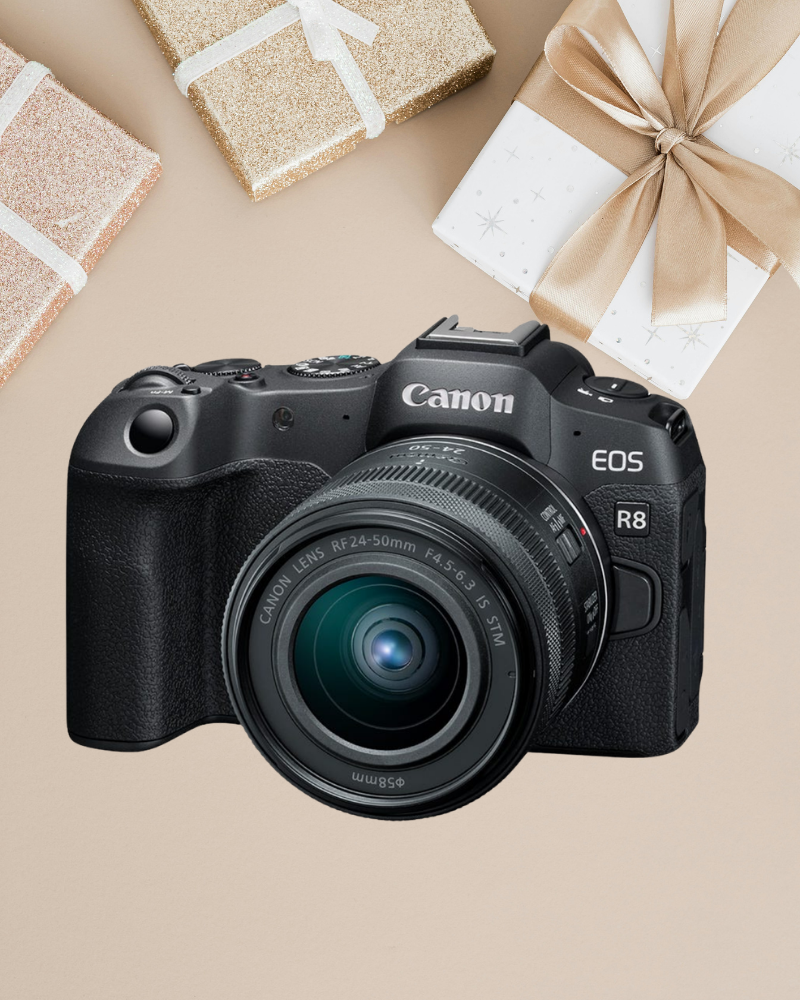
High-End Option: Canon EOS R8
This is the mirrorless camera I would buy to replace my old Canon EOS 60D. If you’re ready to invest in high-quality, professional-grade video and photos right away, this would be the top gift to ask for. It delivers sharp images and beautiful colors, ensuring my content looks polished right out of the camera. (Pro Tip: You can often find great deals on older versions second hand!)
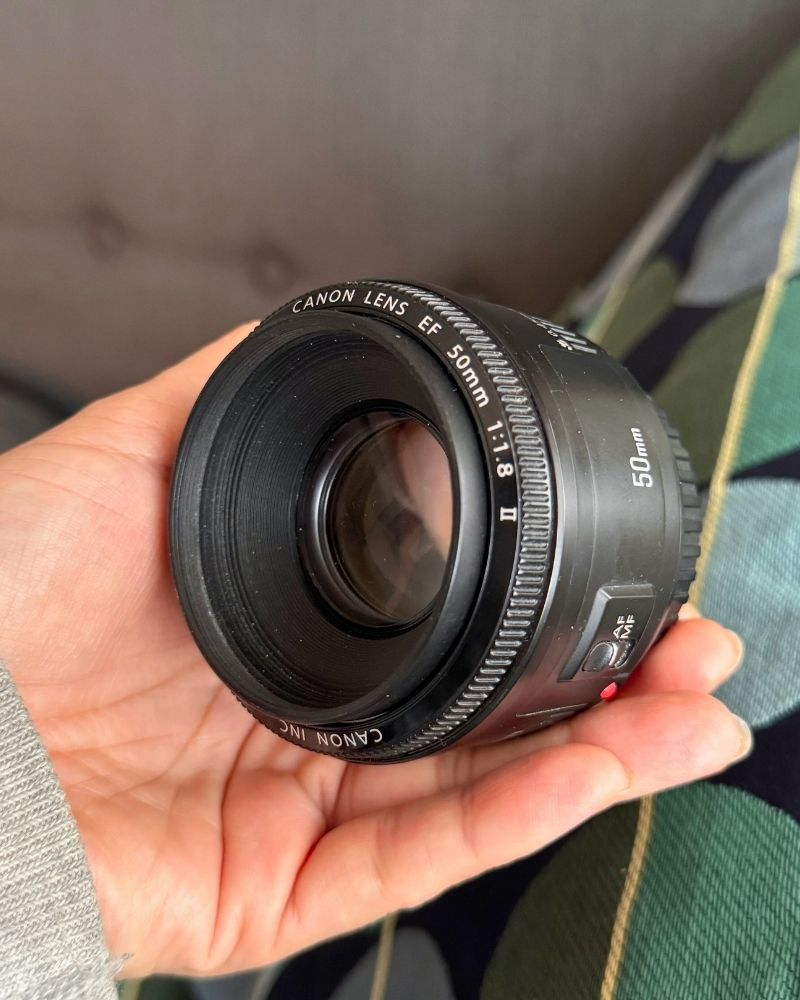
Quick Tip: Use a 50mm lens (like the Canon EF 50mm f/1.8) for close-up shots with that dreamy blurred background. It’s an affordable, effective way to make product shots or beauty close-ups look professional. Bare in mind, to work with the Canon R8, you either need a Mount Adapter EF-EOS R or to simply get the nifty 50mm in the RF line.
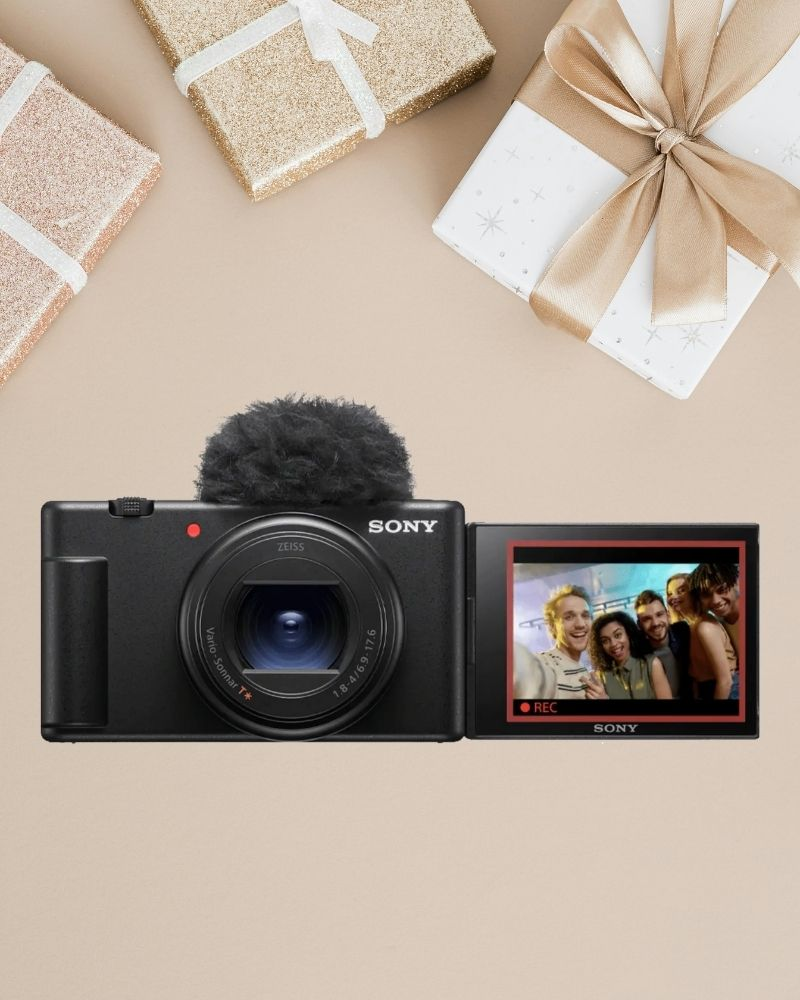
Affordable Option: Canon G7X Mark III
If I wanted something reliable, portable, and beginner-friendly, this would be my go-to gift request. It’s compact but packs a punch with image quality and easy-to-use features—perfect for vlogging or quick Instagram shots. A less expensive alternative I’d still happily unwrap is the Sony ZV-1. (I currently use the older version of the Canon G7X Mark III.)
Needless to say, You will need to either look into dummy batteries (ones that charge your camera while pluged in) or spare batteries and SD cards to have sufficient charge and video storage.
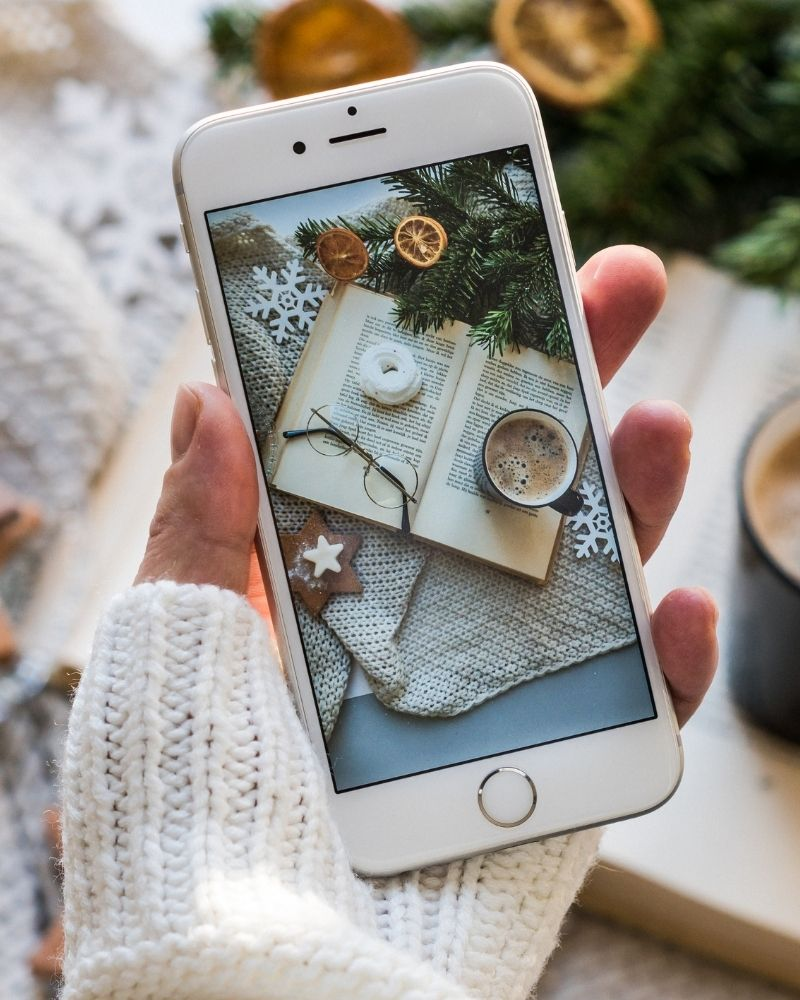
Entry Option: any smartphone with 4K
For Instagram or TikTok, the truth is your phone is the most cost-effective and efficient place to start. I’d ask for an inexpensive lighting and audio setup before upgrading the phone itself.
My starter advice is this: pair your current phone (even an older generation like the iPhone 12) with decent quality lighting and audio, which is more than enough to begin.
Learning how to light your shots and pairing your smart phone with a decent quality microphone is more than enough to start.
Audio: Don’t Forget the Sound (The Hidden Secret to Good Content)
Great visuals need equally great sound. No one wants to sit through a video with muffled audio, so let’s look at a couple of options to make sure your voice shines.
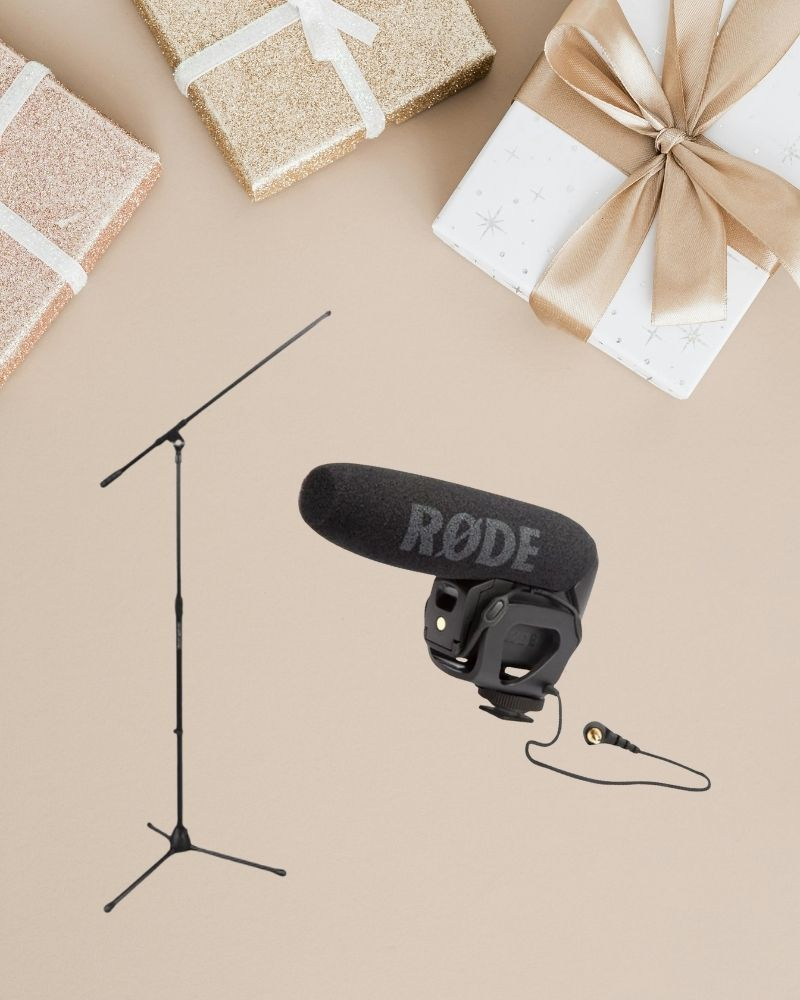
The DSLR Studio Workhorse: Rode VideoMicPro
This mic delivers crisp, clear audio, perfect for filming on a DSLR in any environment. I’d pair it with a boom stand right away to position the mic perfectly above my head for talking-head or beauty tutorials.
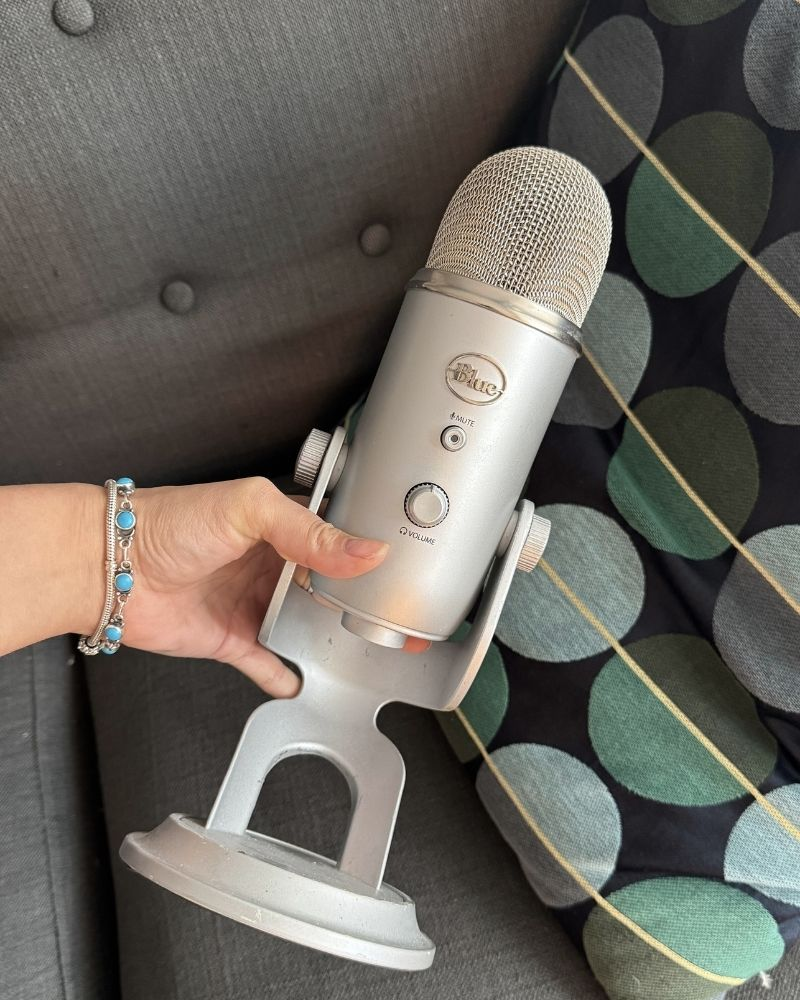
The Podcaster Vibe: Yeti USB Mic
This is the winning mic if I were focusing on sit-down videos, voiceovers, or an ASMR/self-care vibe. It connects directly to a computer or tablet and gives you that rich, deep sound.
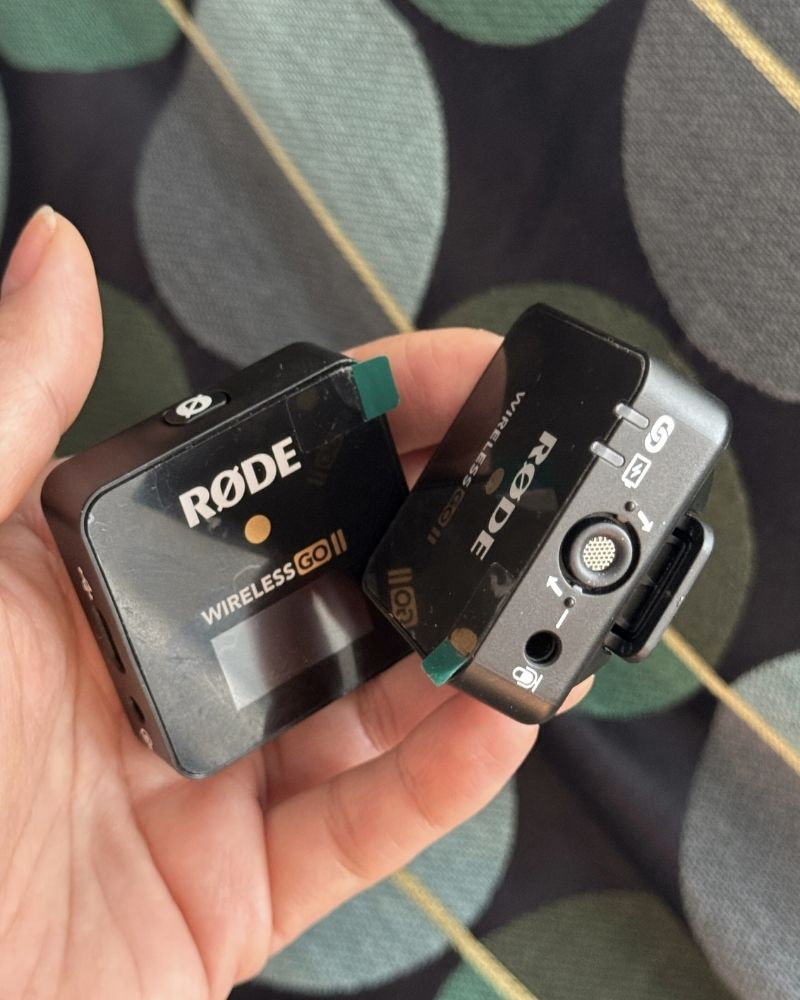
The Mobile Creator Must-Have:
Although mobile devices excel in photo/video quality, they often lack good audio. To fix that, I’d immediately request one of these wireless systems: the Rode Wireless ME, Rode Wireless Go II or DJI Lavalier Mic. BUT If I could choose any new one today, I’d ask for the Hollyland Lark M2S because it’s so small and discrete.
🛑 Compatibility Caveat: Don’t Buy Until You Check!
Before you hit purchase, double-check that the gear is compatible with your iPhone, Android, or Camera system. If you run into connectivity issues, remember that specialized accessories often come to the rescue. For instance, because my iPhone doesn’t have a standard aux port, I use a high-quality USB 3 adapter to ensure I can connect all my external audio devices.”
Lighting: Make Your Content Shine
Good lighting is everything. It transforms your space and makes your content instantly more engaging.
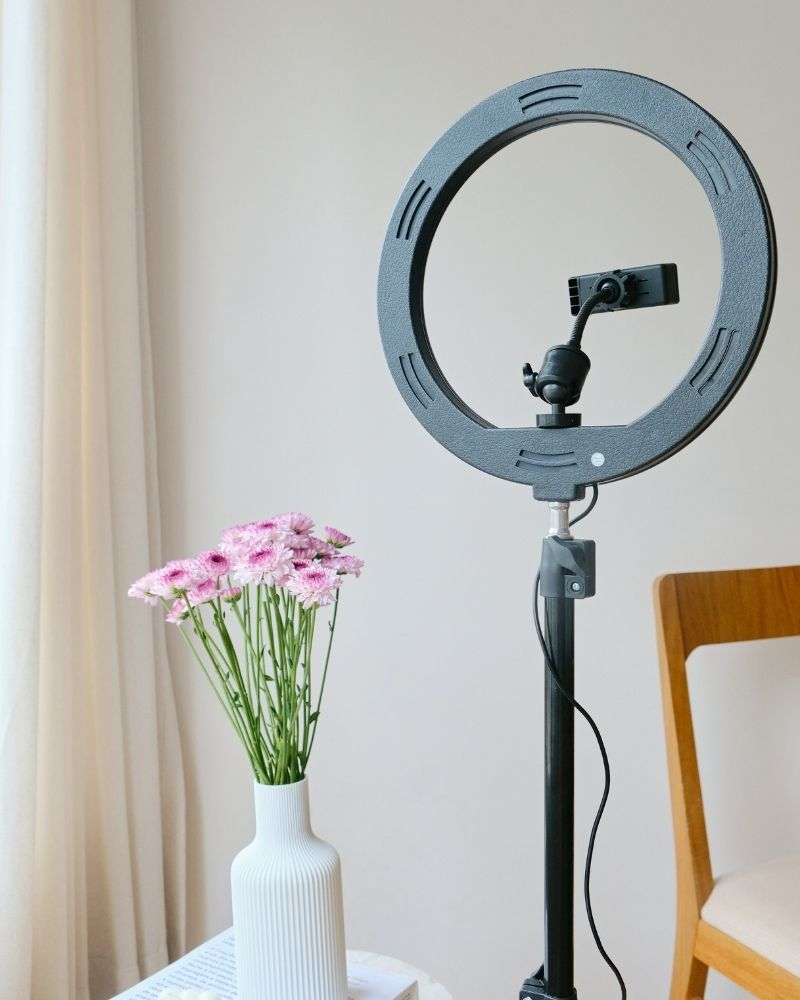
High-End Option: Ring Light
If you want that professional tutorial set up that gives you a radiant glow, a Diva Ring Light is your best friend. It gives your content a polished look with minimal shadow, which is perfect for beauty and skincare videos.
Affordable Option: LED Panel Light
If the Diva Ring Light is out of your budget, consider an LED panel light. These are very popular and come in various sizes and strengths. They are compact, adjustable, and provide good light for a fraction of the cost. They’re perfect for a beginner setup but still add that extra level of polish. I would even argue this is a better investment for most than the Diva-Light as casual production quality is trending in content creation now.
Bare in mind that they offer a limited amount of light which is ideal for talking-head content and not long-shots.
Quick Tip: Place your main light source in front of you (not behind!) for the best results. Natural light is also a great backup if you’re filming during the day. Learn how to manipulate ISO, apature and shutter speed – it will save your life in content creation.
Accessories: The Essentials You Didn’t Know You Needed
The right accessories can make a huge difference in your content quality and ease of filming.
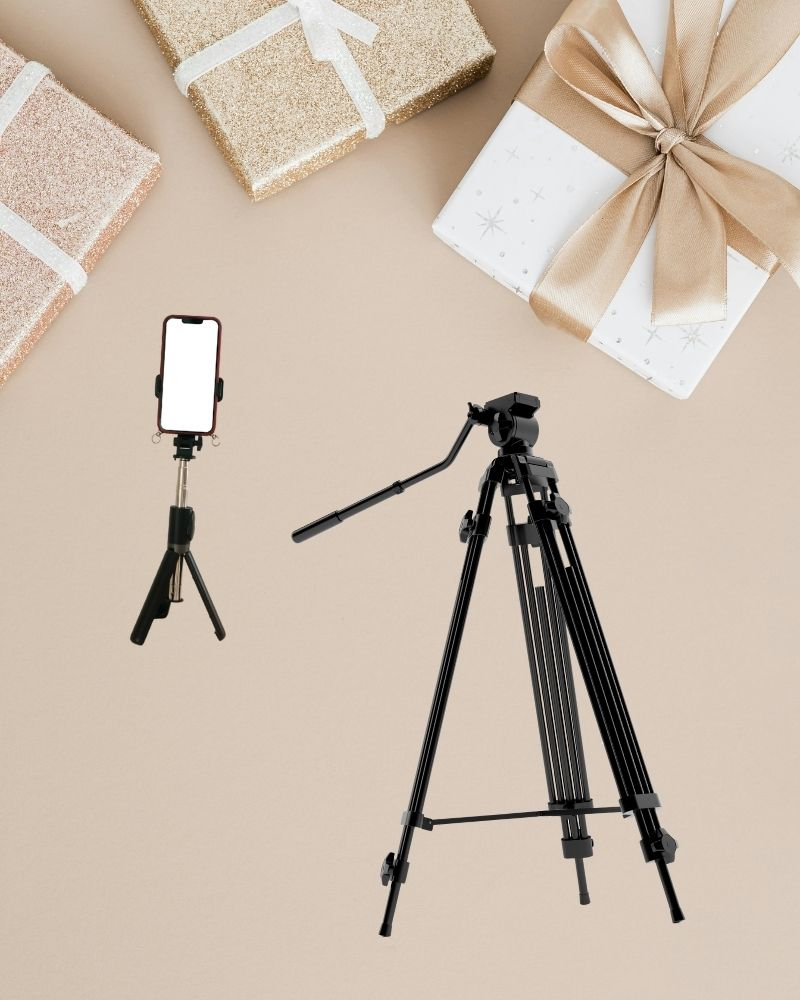
- Camera Tripod: A sturdy tripod (like the Manfrotto Camera Tripod) is essential. It keeps your camera stable for high-quality shots without any wobbling.
- Mini Tripod: For more flexible filming or if you’re on the go, a mini tripod can hold your camera steady for impromptu shots or vlogging.
Solo-creator hack: Filming alone? No problem. I got an Insta360 Flow Pro for my birthday last year, and oh my word! The Flow’s AI tracking can identify and follow a subject, even if they move out of frame or change shape, perfect for solo vloging. You can also use the Flow in Live Mode to stay in frame while live streaming. It has a built-in stabilization and works as a gimble. All you have to do is sync it with your smart phone. You can also check out the DJI OSMO Mobile SE.
Quick Tip: Check that your tripod is at the right height before starting. Avoid filming from an awkward angle by adjusting it to eye level—it’s a small tweak that makes a big difference in your videos. Get familiar witht he rule of thirds, personally, I put the grid setting on my phone and digital cameras to ensure the framing is just right.
Final Thoughts
Getting started with content creation can feel overwhelming, but with the right equipment and tact, you’ll be ready to create polished, engaging content in no time. I hope these tips and recommendations help you get the setup that works best for you. You don’t need to invest in everything at once; pick what you can afford and add on as you grow.
Happy creating!